Scratched car rims are not only unsightly but can also lead to further damage if left untreated. Whether caused by accidental curb scrapes, debris on the road, or wear and tear, repairing scratched rims can restore your car’s aesthetics and protect its value. If you’re wondering how to repair scratched car rims effectively, this comprehensive guide will walk you through the necessary steps, tools, and techniques.
Understanding the Importance of Rim Repair
Car rims endure constant exposure to harsh conditions. Scratches can lead to corrosion over time, especially if moisture seeps through the protective finish. By learning how to repair scratched car rims, you can prevent long-term damage and save on costly replacements.
Tools and Materials You Will Need
Before starting the repair process, gather the following items:
- Fine-grit sandpaper (320, 600, and 1200 grit)
- Rubbing alcohol or wheel cleaner
- Microfiber cloths
- Masking tape
- Automotive primer
- Paint matching your rim’s color
- Clear coat spray
- Filler putty or epoxy (for deep scratches)
- Gloves and safety goggles

Step-by-Step Guide on How to Repair Scratched Car Rims
1. Clean the Rims
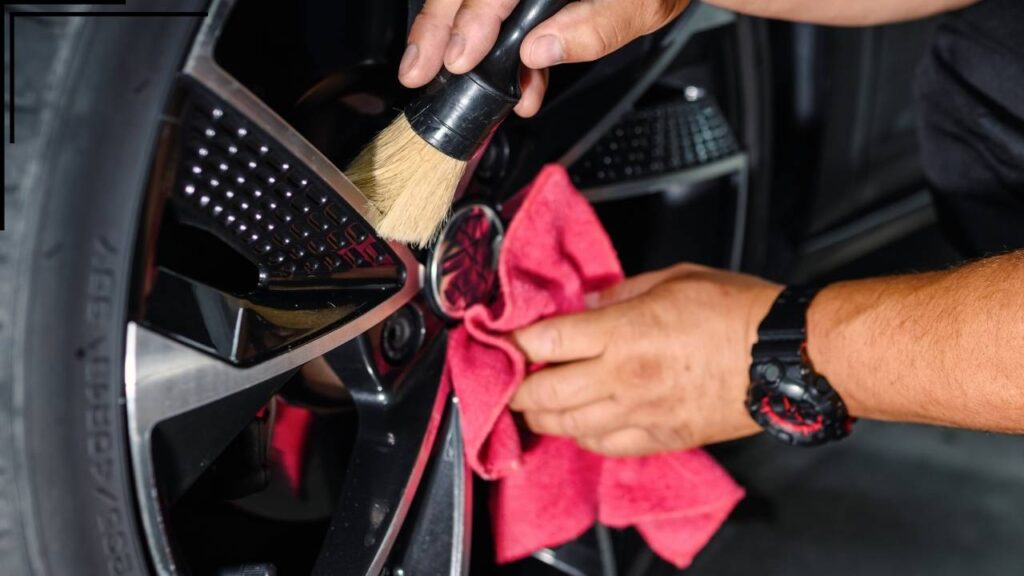
Start by thoroughly cleaning the rims to remove dirt, brake dust, and debris. Use a wheel cleaner or rubbing alcohol to ensure the surface is completely free of contaminants. A clean surface is essential for a successful repair and ensures better adhesion of paint and primer.
2. Inspect the Damage
Examine the extent of the scratches. Light surface scratches are easier to fix, while deeper gouges may require additional steps. This step helps determine how to repair scratched car rims based on the severity of the damage.
3. Sand the Scratched Area
Use 320-grit sandpaper to smooth out the scratched surface. Sand in circular motions until the edges of the scratch blend seamlessly with the surrounding area. For deeper scratches, apply filler putty or epoxy after sanding to level the surface.
4. Apply Filler for Deep Scratches
For gouges or deep scratches, use a high-quality filler putty or epoxy. Apply it with a small spatula, ensuring the scratch is completely filled. Allow the filler to cure according to the manufacturer’s instructions, then sand it down with 600-grit sandpaper until smooth.
5. Mask the Rim
Use masking tape to cover the tire and any parts of the rim you don’t want to paint. This step ensures a clean and professional finish.
6. Apply Primer
Spray a thin coat of automotive primer onto the repaired area. Hold the spray can about 8-10 inches away and use smooth, even strokes. Allow the primer to dry completely, then lightly sand it with 1200-grit sandpaper for a smooth surface.
7. Paint the Rim
Match the paint to your rim’s original color. Apply several thin coats, allowing each coat to dry before adding the next. Thin layers prevent dripping and ensure even coverage. Learning how to repair scratched car rims involves patience during this step to achieve a flawless finish.
8. Apply a Clear Coat
Once the paint has dried, apply a clear coat to seal and protect the surface. Use the same technique as painting, applying thin and even layers. The clear coat provides a glossy finish and shields the repair from future damage.
9. Polish and Inspect
After the clear coat has dried completely, use a microfiber cloth to polish the rim. Inspect your work to ensure the scratches are no longer visible and the repair blends seamlessly with the rest of the rim.
Tips for Preventing Rim Scratches
- Park Carefully: Avoid parking too close to curbs to prevent accidental scrapes.
- Use Protective Coatings: Apply a rim protectant or wheel wax to minimize damage from debris.
- Drive Cautiously: Be mindful of road hazards like potholes and loose gravel.
- Invest in Rim Protectors: Rim protectors can act as a barrier, reducing the risk of scratches.
Common Mistakes to Avoid
- Skipping Cleaning: Failing to clean the rim thoroughly can result in poor adhesion of paint and primer.
- Using Incorrect Sandpaper: Coarse sandpaper can cause further damage. Always use fine-grit sandpaper for rims.
- Applying Thick Paint Layers: Thick coats can drip and create an uneven finish. Stick to thin, even layers.
- Rushing the Process: Allow each layer of primer, paint, and clear coat to dry completely before proceeding.
When to Seek Professional Help
While many scratches can be repaired at home, some situations may require professional assistance:
- Extensive Damage: Large cracks or deep gouges that compromise the rim’s structure.
- Specialized Finishes: Rims with unique finishes, such as chrome or polished aluminum, may need expert restoration.
- Time Constraints: If you’re short on time or lack the tools, a professional repair shop can save you the hassle.
How to Repair Scratched Car Rims with Minimal Costs
One of the biggest advantages of DIY rim repair is cost savings. Professional rim repair services can be expensive, especially for custom finishes. By learning how to repair scratched car rims yourself, you can achieve professional-looking results at a fraction of the cost. Investing in high-quality tools and materials ensures durability and satisfaction.
Understanding how to repair scratched car rims empowers car owners to maintain their vehicle’s appearance and value. Whether dealing with minor scratches or more severe damage, following the steps outlined in this guide can restore your rims to their former glory. Regular maintenance and cautious driving habits can also minimize the risk of future scratches. With the right tools, techniques, and a little patience, anyone can master the art of rim repair and keep their car looking its best.


