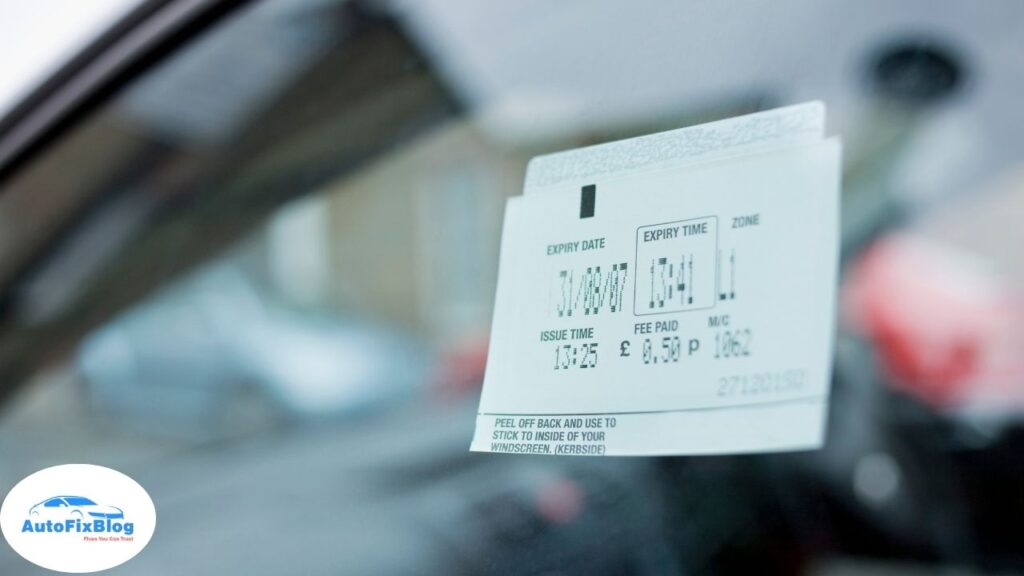
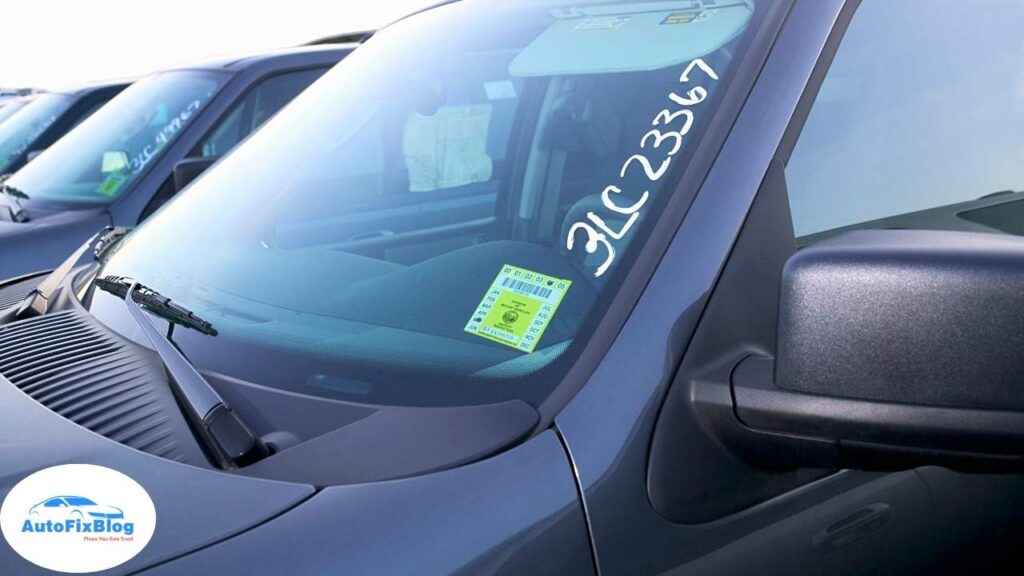
When you purchase a new or used car from a dealership, it often comes with a dealer sticker or badge attached to the exterior of the vehicle. While some people may not mind the branding, others find it unsightly and prefer a clean, sticker-free look.
Fortunately, removing a dealer sticker from a car is a relatively easy process when done correctly. However, it requires care to avoid damaging the car’s paint or leaving any residue behind.
In this guide, we’ll walk you through how to remove dealer stickers from cars safely, using tools and techniques that ensure your vehicle’s surface remains flawless. We’ll also cover some tips for avoiding damage and address common car issues that could arise during the removal process.
Why Remove a Dealer Sticker?
Dealerships typically place their logos or contact information on cars as a form of free advertising. While this may not be an issue for some car owners, others may find the sticker unattractive or out of place on their vehicle. Additionally, over time, the sticker can fade or peel, making your car look worn.
Learning how to remove dealer sticker from car not only enhances the look of your vehicle but also helps maintain its resale value by ensuring the paint remains in top condition.
Tools and Materials Needed
Before getting started, gather the following tools and materials:
- Heat source: A hair dryer or heat gun will help soften the adhesive underneath the sticker.
- Plastic scraper or credit card: To gently peel off the sticker without scratching the paint.
- Adhesive remover: Goo Gone, rubbing alcohol, or a similar adhesive remover can help break down any sticky residue left behind.
- Microfiber cloth: For cleaning the area after the sticker is removed.
- Car wash soap and water: To clean the area thoroughly before and after sticker removal.
- Polish or wax: To restore the car’s finish after the sticker is removed.

Step-by-Step Guide: How to Remove Dealer Sticker from Car
1. Clean the Area Around the Sticker
Before removing the sticker, it’s important to clean the surrounding area to prevent any dirt or debris from scratching the paint during the removal process. Use a mixture of car wash soap and water to clean the surface around the sticker thoroughly. Dry the area with a clean microfiber cloth.
By starting with a clean surface, you reduce the risk of damaging the paint while removing the dealer sticker from the car.
2. Use Heat to Soften the Adhesive
The next step in how to remove the dealer sticker from the car is to apply heat to soften the adhesive underneath the sticker. A hair dryer or heat gun set to a low to medium setting works well for this purpose.
- Hold the hairdryer or heat gun a few inches away from the sticker, moving it in circular motions to evenly distribute the heat.
- Avoid applying too much heat directly to the paint for an extended period, as this could damage the paint or cause paint blisters.
- Heat the sticker for about 30-60 seconds, focusing on one section at a time.
- The heat will soften the adhesive, making it easier to peel the sticker off without leaving residue behind or damaging the paint.
3. Gently Peel the Sticker
Once the adhesive has softened, it’s time to peel the sticker off. Use a plastic scraper or an old credit card to gently lift the edge of the sticker. If you can’t get a good grip with your fingers, use the scraper to slowly lift the sticker from the surface.
Work slowly and carefully, pulling the sticker at a low angle. This reduces the risk of tearing the sticker or leaving behind adhesive.
If the sticker starts to tear or becomes difficult to remove, apply more heat and try again.
Be patient during this process to avoid fixing car issues caused by scratches or damage to the paint.
4. Remove Any Adhesive Residue
After you successfully remove the dealer sticker, you’ll likely notice some adhesive residue left behind. This is a common issue, but it’s easy to solve with the right adhesive remover.
- Apply a small amount of adhesive remover (such as Goo Gone or rubbing alcohol) to a clean microfiber cloth.
- Gently rub the adhesive residue in a circular motion until it breaks down and comes off the surface.
- Avoid using harsh chemicals or scrubbing too hard, as this could damage the paint.
- If the adhesive remover isn’t working as well as you’d like, you can apply more heat and try again.
5. Wash and Polish the Area
Once the adhesive is completely removed, wash the area with car wash soap and water to remove any remaining residue from the adhesive remover.
After drying the area with a microfiber cloth, inspect the surface for any imperfections. If the paint looks dull or uneven, you can restore its shine by applying a light coat of polish or wax. This will also help protect the paint and give it a uniform appearance.
By now, you’ve completed the process of removing a dealer sticker from a car, and your vehicle should have a clean, professional look.
Avoiding Common Mistakes When Removing a Dealer Sticker
While removing a dealer sticker from a car is a straightforward task, there are some common mistakes to avoid to ensure you don’t damage the paint or leave behind stubborn residue:
- Don’t use metal tools: Metal scrapers or blades can easily scratch the car’s paint, leaving unsightly marks. Stick to plastic tools like a scraper or old credit card.
- Don’t rush the process: Patience is key when peeling off the sticker. Trying to rush the process can result in torn stickers or damage to the paint.
- Avoid high heat: Using too much heat can cause paint blisters, especially if you’re using a heat gun. Keep the heat source at a low to medium setting and move it around to prevent concentrated heat on one spot.
Dealing with Stubborn Stickers or Older Cars
If the sticker has been on your car for a long time, it might be more difficult to remove. In such cases, the adhesive may have hardened, and the sticker could tear more easily. Here are a few tips for dealing with stubborn or older stickers:
- Soak the sticker with soapy water: Wet the sticker with soapy water and leave it to soak for a few minutes. This can help loosen the adhesive.
- Apply more heat: Older stickers may require more heat to soften the adhesive. Just be cautious about overheating the area, as it could damage the paint.
- Use a commercial adhesive remover: Products specifically designed for removing decals or stickers from cars may be more effective on stubborn adhesives.
Preventing Future Water Spots and Paint Damage
After removing a dealer sticker from a car, it’s a good idea to take steps to protect the car’s paint and finish. One common issue people face after removing stickers is removing water spots from the newly exposed area. To prevent water spots from forming, make sure to dry the area thoroughly after washing your car.
Additionally, applying a layer of wax or sealant to the area where the sticker was can help protect the paint from future damage and environmental exposure.
Learning how to remove dealer stickers from cars is a valuable skill for any car owner who wants to maintain the clean, sleek appearance of their vehicle.
By following the steps outlined in this guide, you can remove the sticker without damaging the paint or leaving behind unsightly residue. Be sure to use the right tools, take your time, and avoid common mistakes to ensure the process goes smoothly.
With these tips, you can successfully remove dealer stickers and avoid fixing car issues that might arise from improper techniques, keeping your car in pristine condition.


