Scratched car rims are a common problem that can detract from your vehicle’s appearance and even lead to long-term damage if left unaddressed. Whether caused by curb rash, debris, or regular wear and tear, scratches on your rims are not only unsightly but can also lower the resale value of your car. Learning how to fix a scratched car rim is a valuable skill that can save you time and money. In this guide, we’ll take you through a detailed process to restore your rims to their original glory.
Assessing the Damage
Before diving into repairs, it’s crucial to evaluate the extent of the damage. Scratches can range from superficial scuffs to deep gouges. Knowing the severity of the issue will help you decide on the best repair method.
- Light Scratches: These are shallow marks that affect only the surface layer of the rim. They are relatively easy to fix.
- Moderate Scratches: These penetrate deeper into the rim but don’t compromise the structural integrity.
- Deep Gouges: Severe damage that may require professional intervention or rim replacement.
Tools and Materials Needed
To fix a scratched car rim, gather the following items:
- Sandpaper (various grits: 240, 400, 800, 1200)
- Rim repair putty (for deeper scratches)
- Primer
- Automotive paint (matching your rim color)
- Clear coat
- Microfiber cloths
- Rubbing alcohol
- Masking tape
- Polishing compound

Step-by-Step Guide on How to Fix a Scratched Car Rim
1. Clean the Rim
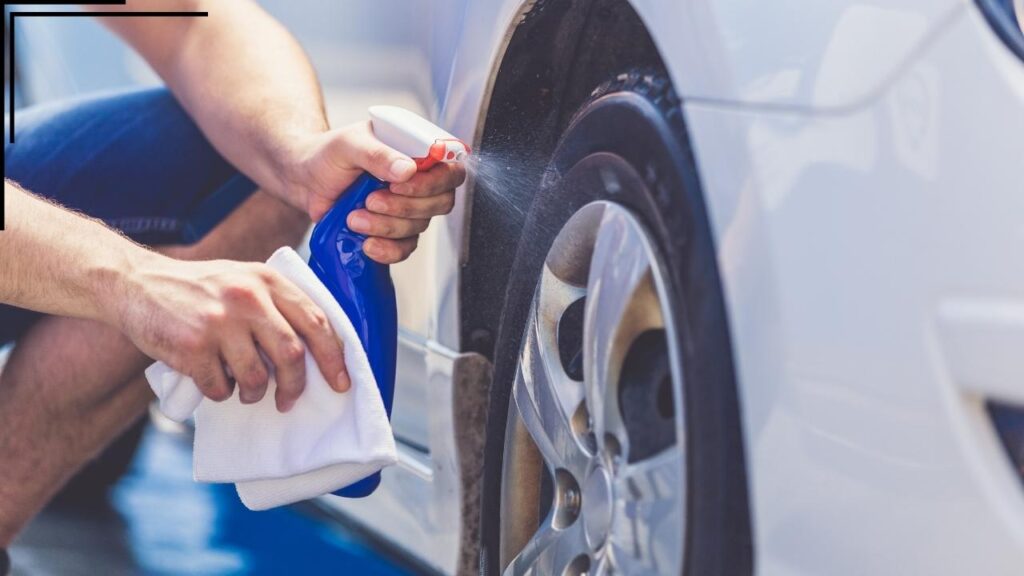
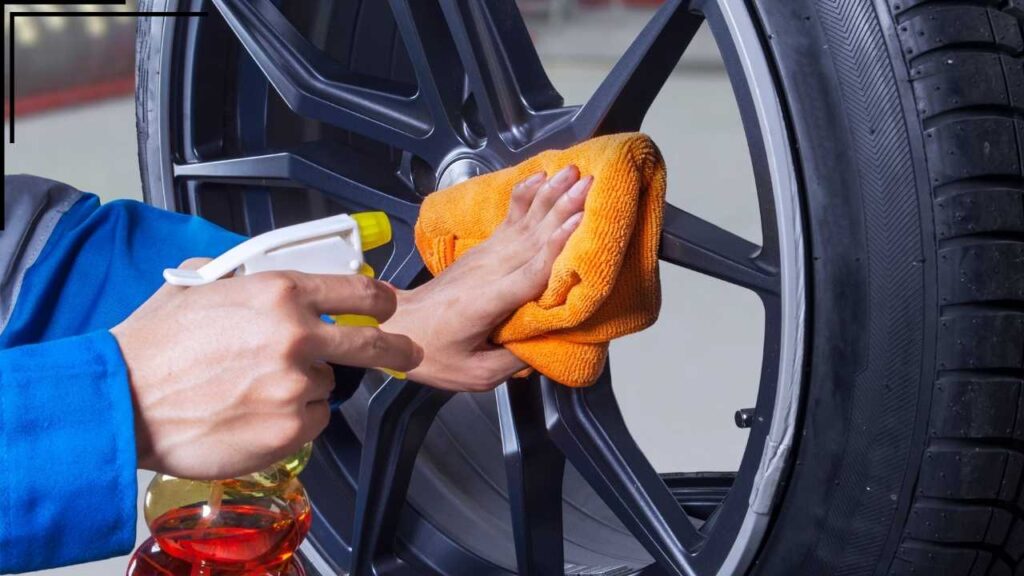
Start by cleaning the rim thoroughly to remove dirt, grease, and debris. Use a wheel cleaner or soapy water and a microfiber cloth to ensure the surface is spotless. Dry the rim completely before proceeding.
2. Mask the Tire
Use masking tape to protect the tire and any areas of the rim that don’t require repair. This ensures a clean and precise repair process.
3. Sand the Scratched Area
Begin sanding the scratched area with 240-grit sandpaper to smooth out the edges of the scratch. Progress to finer grits (400, 800, 1200) to achieve a smooth surface. Ensure you sand beyond the scratch slightly to blend the repair area with the rest of the rim.
4. Fill Deeper Scratches
If the scratch is deep, apply a rim repair putty to fill the gouge. Follow the manufacturer’s instructions for application and drying time. Once the putty is dry, sand it down with fine-grit sandpaper to level it with the rim’s surface.
5. Clean and Prepare the Surface
After sanding, clean the area with rubbing alcohol to remove dust and residue. This step ensures the primer and paint adhere properly.
6. Apply Primer
Spray a thin layer of primer over the repaired area. Allow it to dry completely before applying additional coats if needed. Primer helps create a smooth base for the paint and improves adhesion.
7. Paint the Rim
Match the paint to your rim’s original color. Apply thin, even coats of automotive paint, allowing each coat to dry before applying the next. Typically, 2-3 coats are sufficient to achieve full coverage.
8. Apply a Clear Coat
Once the paint is dry, apply a clear coat to protect the repair and give the rim a glossy finish. Use multiple thin coats, allowing each to dry in between.
9. Polish the Rim
After the clear coat has dried completely, use a polishing compound to blend the repaired area with the rest of the rim. This step ensures a seamless and professional-looking finish.
Tips for Successful Repairs
- Work in a Controlled Environment: Perform the repair in a shaded, well-ventilated area to avoid dust and debris contaminating the surface.
- Use High-Quality Products: Invest in good-quality paint, primer, and clear coat to ensure a long-lasting repair.
- Take Your Time: Rushing the process can lead to uneven results. Allow adequate drying time between each step.
When to Seek Professional Help
While learning how to fix a scratched car rim is useful, some damage may require professional assistance. Consider consulting a specialist if:
- The scratch compromises the structural integrity of the rim.
- The rim has intricate designs or finishes that are difficult to replicate.
- You lack the tools or confidence to achieve a satisfactory repair.
Preventing Future Scratches
Preventing scratches in the first place can save you the hassle of repairs. Here are some tips:
- Park Carefully: Avoid curbs and tight spaces that can cause curb rash.
- Use Protective Coatings: Apply a rim protector or ceramic coating to shield against scratches and debris.
- Clean Regularly: Keep rims clean to prevent dirt and debris from causing micro-scratches.
Common Mistakes to Avoid
- Skipping Sanding Steps: Proper sanding ensures a smooth and even repair.
- Using the Wrong Paint: Always match the paint to your rim’s original color.
- Applying Too Much Paint: Excessive paint can lead to drips and an uneven finish.
Understanding how to fix a scratched car rim is a practical skill that can save you money and maintain your car’s appearance. With the right tools, materials, and techniques, you can repair minor scratches at home and restore your rims to like-new condition. Remember to assess the damage carefully, follow the steps methodically, and invest in quality products for the best results. If the damage is severe or you’re unsure about the process, don’t hesitate to seek professional help. With regular maintenance and mindful driving, you can keep your rims looking pristine for years to come.


