Paint transfer is a common cosmetic issue that happens when your car rubs against another object, leaving an unsightly layer of paint residue. This can occur from a minor scrape with a parking barrier, another car, or even something as simple as a brush with a painted wall.
Fortunately, paint transfer usually affects only the surface, meaning it can often be removed without major repairs. But many car owners wonder, how to buff out paint transfer on a car effectively?
Buffing out paint transfer requires patience, the right tools, and a bit of elbow grease. In this guide, we’ll walk you through a step-by-step process on how to buff out paint transfer on a car and discuss ways to protect your paint in the future to avoid similar issues.
Understanding Paint Transfer and Its Causes
Paint transfer occurs when friction causes a layer of paint from one object to adhere to the surface of another. This typically doesn’t scratch or damage the clear coat but leaves a noticeable streak of color on your vehicle.
If not addressed quickly, paint transfer can harden or stain the surface, making it more difficult to remove. Ignoring the issue could even lead to other auto issues over time, as well as make your car look worn and unmaintained.
Tools Needed to Buff Out Paint Transfer on a Car
Before you start the process of removing paint transfer, it’s essential to have the right tools. Here’s what you’ll need:
- Microfiber Cloths: These will help you clean the area without scratching the paint further.
- Automotive Soap: Use a high-quality automotive soap to thoroughly wash and prepare the area for buffing.
- Rubbing Compound: This is a mild abrasive that helps remove paint transfer and polish the surface.
- Scratch Remover: Scratch removers or similar polishes can help buff out minor imperfections after removing the paint transfer.
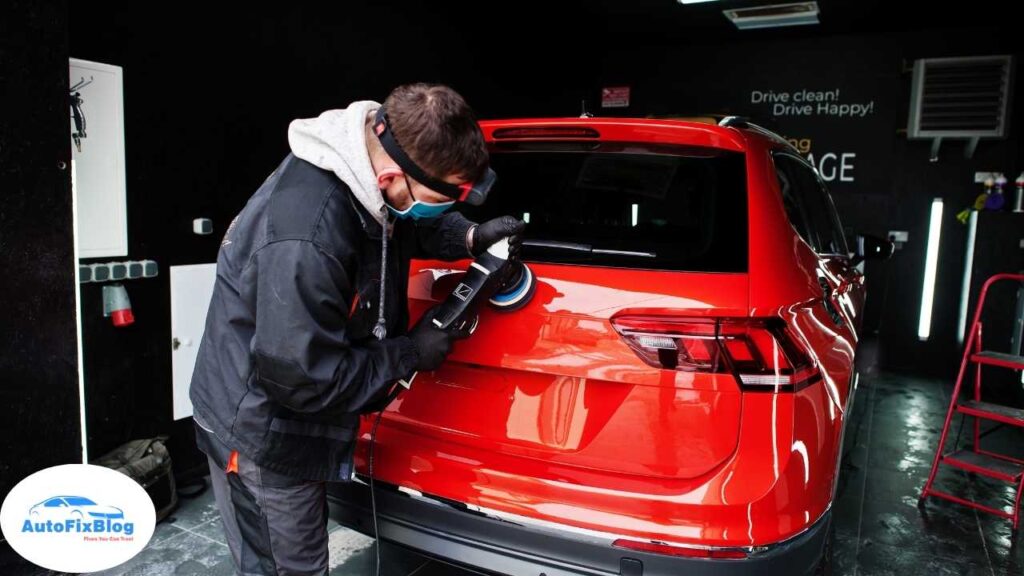
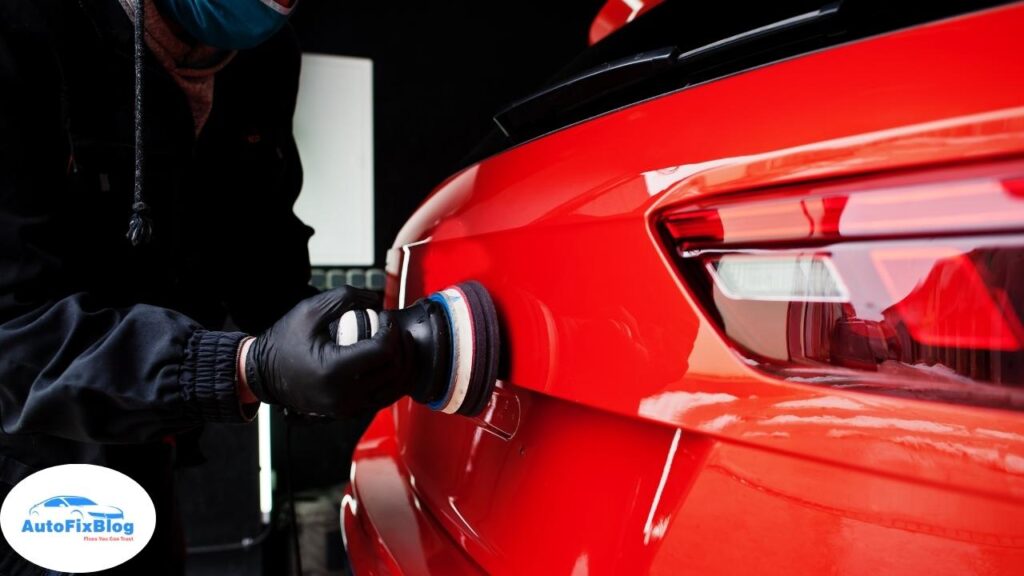
- Polishing Pad or Buffer: Using an electric buffer or even a manual pad can make the job easier and produce a smooth, even finish.
- Wax or Sealant: A quality wax or sealant is vital for protecting the newly buffed area and adding shine.
- Gloves: Wearing gloves protects your hands from chemicals.
With these tools, you’ll be ready to tackle the paint transfer removal process and prevent further auto issues related to your car’s paint.

Step-by-Step Guide on How to Buff Out Paint Transfer on a Car
Here’s a detailed guide to help you remove paint transfer and restore your car’s original finish.
Step 1: Wash the Affected Area
Start by washing the area thoroughly to remove any dirt, debris, or contaminants. This will help you see the extent of the paint transfer and avoid rubbing particles into your car’s paint, which could cause scratches. Use automotive soap and a microfiber cloth to gently clean the area, then rinse and dry completely.
Step 2: Apply Rubbing Compound
To begin buffing out the paint transfer, apply a small amount of rubbing compound to a microfiber cloth or polishing pad. Rubbing compound contains mild abrasives that are designed to smooth out surface imperfections.
- How to Apply: Apply light pressure and rub the compound over the paint transfer in a circular motion.
- Work in Sections: Start with a small area to test how well the compound removes the paint transfer.
- Check Your Progress: After a few seconds of buffing, wipe the area with a clean microfiber cloth to check your progress.
The rubbing compound should start to remove the paint transfer effectively. Continue this process, reapplying more compound as needed until you’ve removed the transferred paint.
Step 3: Buff Out the Paint Transfer
After you’ve applied the rubbing compound and removed most of the paint transfer, it’s time to buff the area. Buffing helps to smooth the surface and eliminate any remaining residue or minor scratches.
If you have an electric buffer, it will make this step easier. But if you don’t, a polishing pad will work just as well with some extra effort.
- Circular Motion: Buff in a circular motion, applying light to moderate pressure. Avoid pressing too hard, as this could create heat that may damage the paint or even cause paint blisters.
- Avoid Over-Buffing: Too much buffing can wear down the clear coat, leading to other auto issues like thinning paint or surface irregularities.
Buffing will restore the paint’s shine, removing any haziness left by the rubbing compound and making the area blend seamlessly with the surrounding paint.
Step 4: Polish the Surface
Once the paint transfer has been fully removed, apply a scratch remover or polishing compound. This step smooths the paint surface and removes any fine scratches left from buffing.
- Apply a Small Amount: Place a small dab of scratch remover on a clean microfiber cloth or polishing pad.
- Buff in Small Circles: Work in small, circular motions until the surface is smooth.
- Wipe and Inspect: Wipe the area clean with a dry microfiber cloth to check if any imperfections remain.
Polishing will make the area look as close to new as possible, enhancing the gloss and giving it a smooth, even look.
Step 5: Apply Wax or Sealant for Protection
The final step in how to buff out paint transfer on a car is to protect the area you’ve worked on. Applying wax or a paint sealant will provide a protective barrier, preserving the finish and preventing future paint transfer or scratches.
- Apply Wax Evenly: Use a clean microfiber cloth to apply wax over the affected area.
- Allow Time to Dry: Let the wax dry according to the manufacturer’s instructions before buffing it off.
- Buff to a Shine: Use a soft, dry cloth to buff the wax to a high shine, ensuring that the area is well-protected.
Waxing the area not only adds shine but also creates a protective barrier to prevent future auto issues related to paint transfer or surface damage.
Preventing Paint Transfer in the Future
Although paint transfer is often accidental, there are ways to minimize the chances of it happening again:
- Be Mindful When Parking: Park away from other cars or objects that could cause accidental scrapes, especially in tight spaces.
- Install Door Edge Guards: These protective strips can reduce the chances of paint transfer from minor dings and scrapes.
- Use a Ceramic Coating: Ceramic coatings offer a harder, longer-lasting layer of protection that’s resistant to paint transfer, scratches, and other surface damages.
- Consider a Clear Bra or Protective Film: Protective films act as a buffer against minor scrapes, reducing the risk of paint transfer on your car.
When to Seek Professional Help
While DIY methods can work for minor paint transfer, larger areas or deeper issues may require professional assistance. If the paint transfer has penetrated the clear coat, or if you’re dealing with other auto issues like rust or damaged bodywork, a professional body shop can ensure a more thorough repair.
Frequently Asked Questions About Paint Transfer
Q: How do I know if the paint transfer has damaged my car’s clear coat?
A: After cleaning, examine the area in good lighting. If you see scratches or color changes in the clear coat, the transfer may have damaged the surface. You might want to consider professional assistance in such cases.
Q: Can I use a magic eraser to remove paint transfer?
A: Magic erasers can be abrasive and may scratch the clear coat. Use a rubbing compound instead, as it’s designed specifically for car paint and won’t harm the surface.
Q: Will buffing remove all types of paint transfer?
A: Buffing works well for surface-level paint transfer. If the transfer has penetrated the clear coat or paint layers, deeper repair methods may be required.
Q: Is it safe to buff a leased car?
A: Yes, as long as you’re careful and use products specifically for automotive finishes. Buffing out paint transfer without damaging the paint is generally acceptable for leased vehicles.
Learning how to buff out paint transfer on a car can save you money on professional repairs while restoring your vehicle’s appearance. With patience and the right techniques, you can remove paint transfer and protect your car’s finish from future damage. Taking steps to prevent future paint transfer incidents, like parking carefully and using protective coatings, can also reduce your chances of dealing with these auto issues again.


